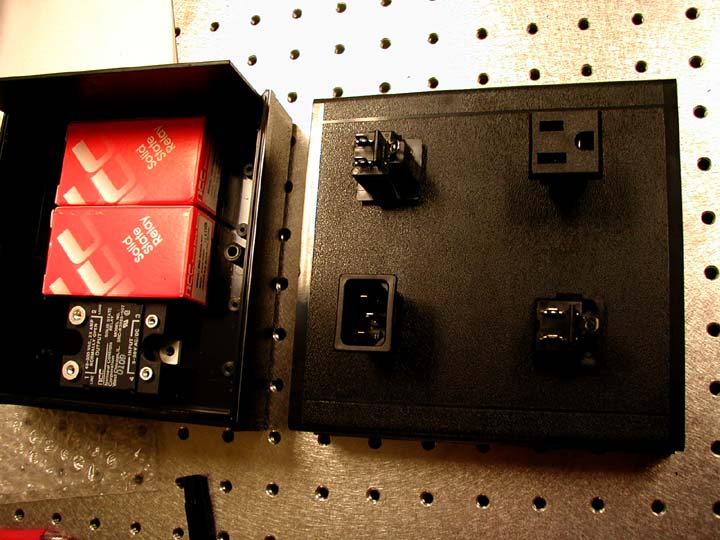
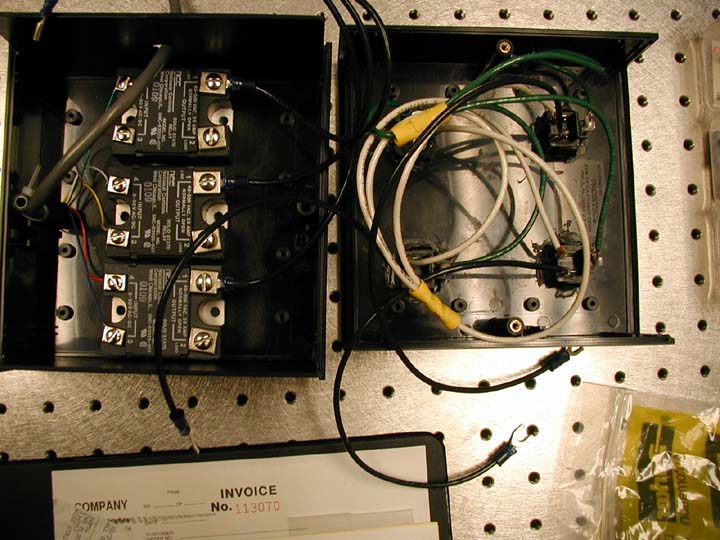
The relay box controls the sonicator and vacuum pump.
| The relay box also uses a plastic enclosure, and contains three electrical relays, 3 power outlets and one power inlet. The relays are controlled by the ICM 2900. | |
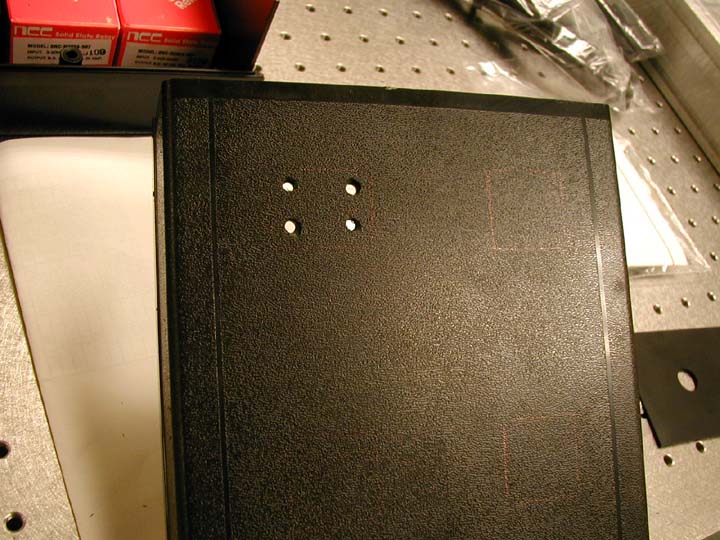
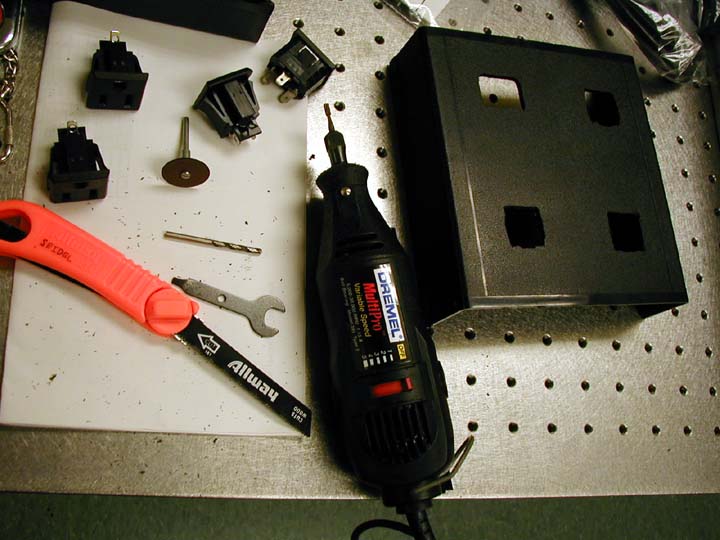
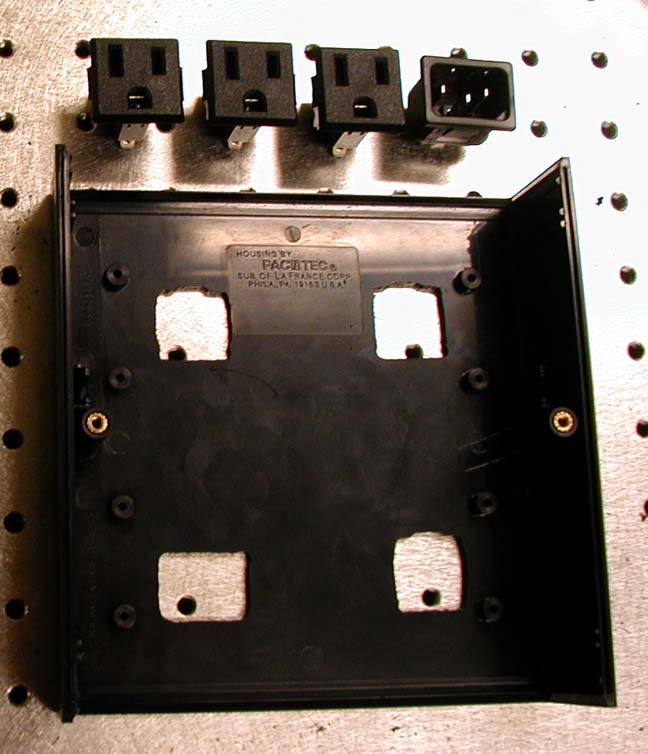
| After marking out the areas for the plugs, you may find it helpful to drill pilot holes at the corners of the areas to be cut out. | |
| You can use the cutting wheel of a dremmel tool to score through the plastic. Other tools may also come in handy for scoring away excess plastic until the eletcrical outlets fit into place. | |
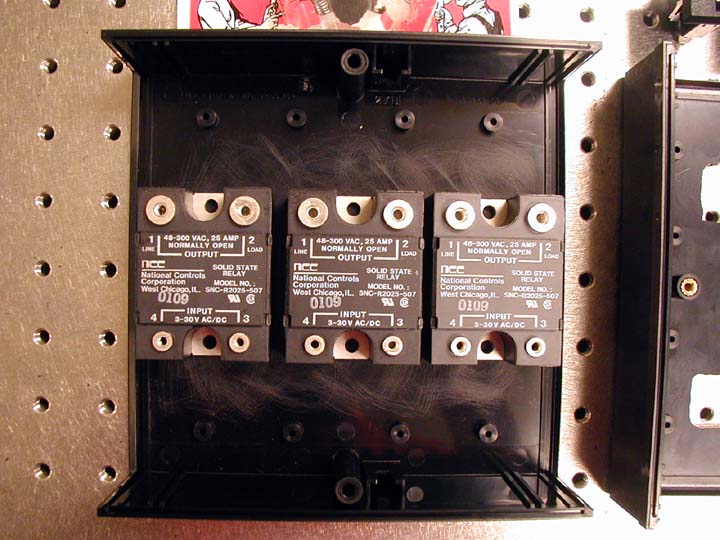
| Epoxy is used to glue the relays to the bottom of the enclosure box. Roughen the plastic surface with sandpaper to enhance the strength of the epoxy bond between the surfaces. | |
| Epoxy is also used to secure the electrical fittings to the enclosures. The fittings may have little flange clips to help them lock into place when inserted into their respective cut-out. However the plastic enclosure box is constructed of plastic which is too thick for the flanges to work effectively. There are a few ways to address this. You can either remove the flanges, or bevel the edge of the enclosure plastic to accomodate the flanges. Alternatively you may be able to use needle nose pliers or a screwdriver to pull the flanges up over the edge of the plastic of the enclosure box. Test the fit yourself to see if it's a problem for you. | |
| You can use 14 or 16 gauge wire for wiring the relay box. you can solder the wires to the three pronged terminals, or use crimped connectors. You'll be making three different 3-wire to 1 wire butt connected sets of wires. I like to use colored wire to lower the confusion level. | |