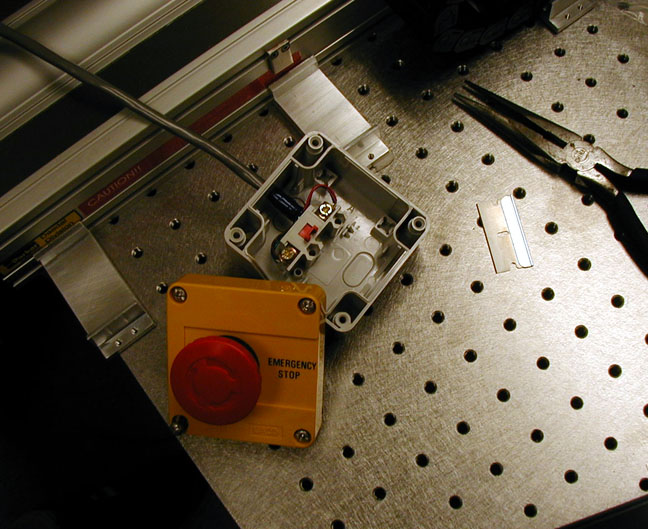
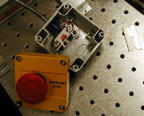
| Use multi-counductor cable to wire the safety switch. You need six wires. Strip and combine 3 wires for each side of the switch. Write down what colors you used, how you grouped them. Use enough cable length to make sure the safety switch can be reached from anywhere around the arrayer. |
 |
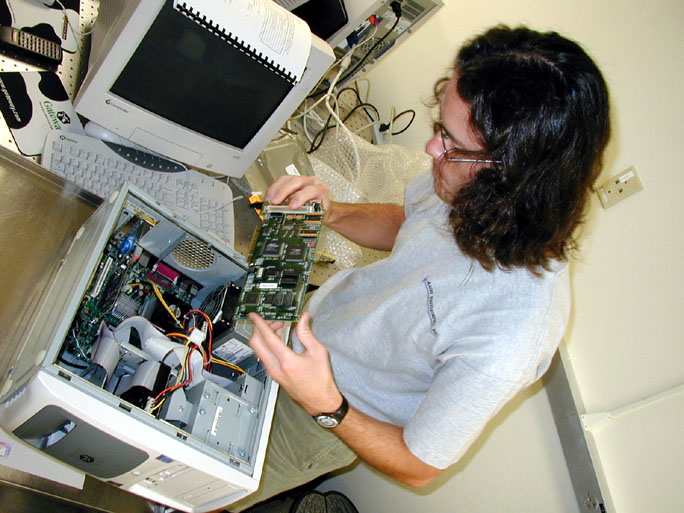
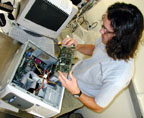
| Install the controller board in the computer. To begin with, make sure the computer boots up and shuts down properly. Next, open the computer and install the controller board. Upon start up, Windows will detect the new hardware and prompt you about installing drivers. The CD that comes from Galil has the drivers on it. Insert the CD and browse for the driver folder that matches the controller card.
|
 |
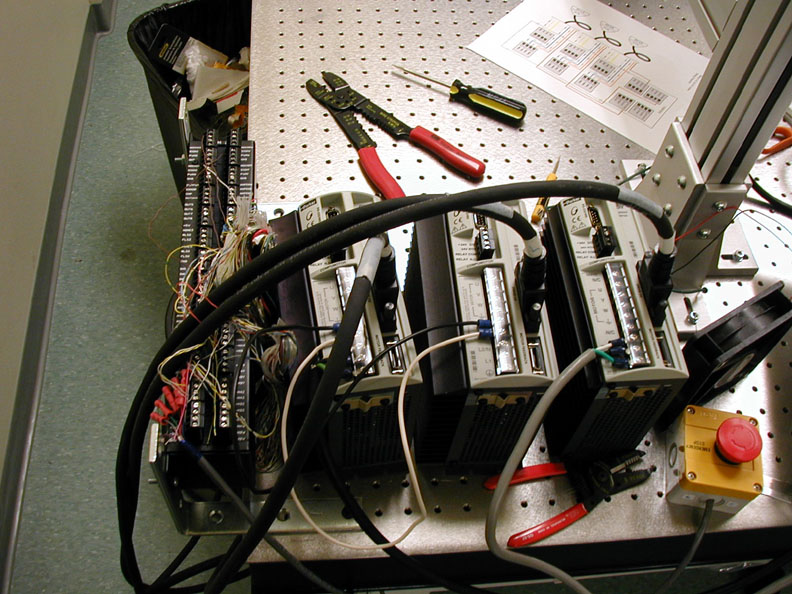
| With the computer board in place, you can begin the tedious task of wiring up the amplifiers to the ICM2900. |
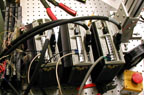 |
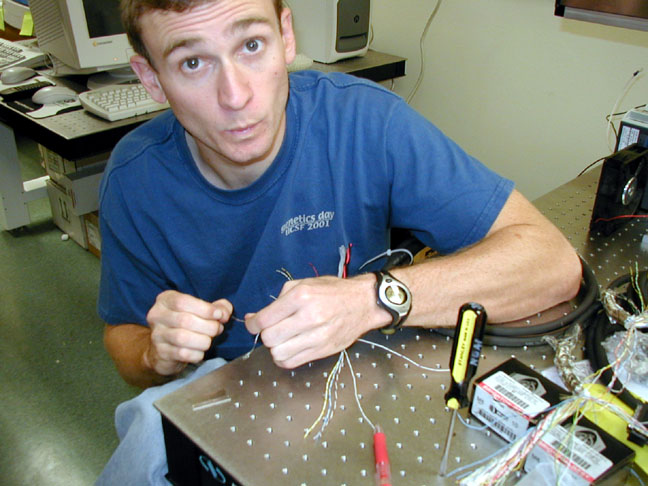
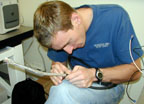
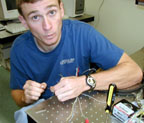
| There are 3 - fifty pin cables that will be plugged into the amplifiers, and then wired to the ICM2900 wiring bus.
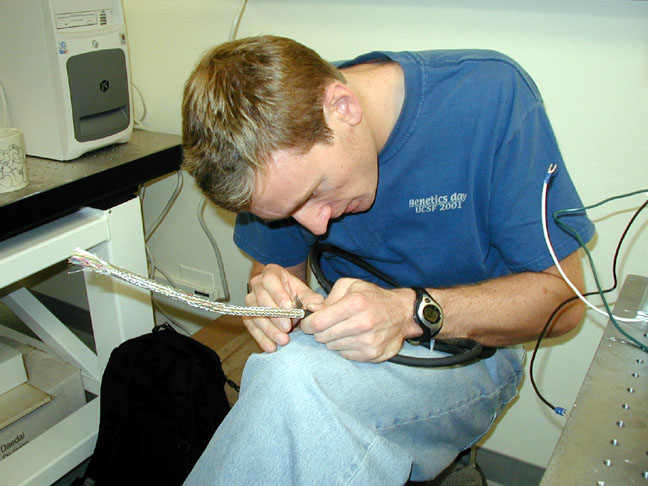
The cables have a metal shielding that must be cut away to get access to the thin wires. Fine wire strippers are available at most good hardware stores, and are worth getting. The wires are very fine gauge, and must be stripped carefuly. |
 |
|
 |
|
 |
|
 |
|
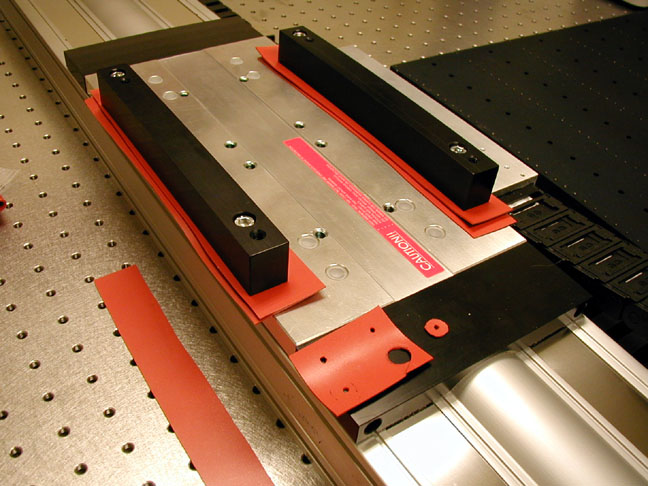
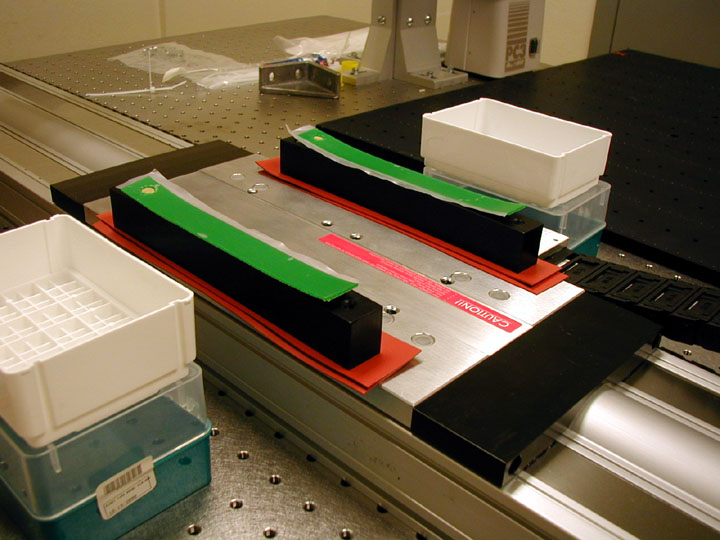
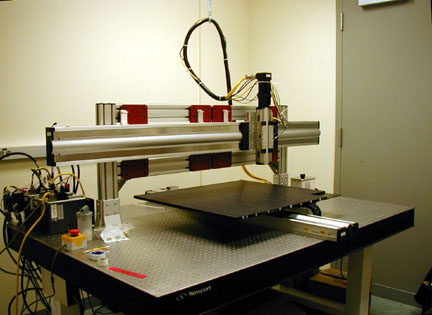
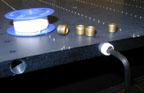
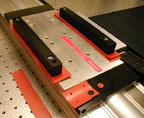
Green sticky tape has the look and consistency of lime green fruit role. It has just the right properties for mounting the array platter to the riser blocks in a way that dampens vibration.
Without it, the platter can start oscillating when the arrayer is turned on. Though the physical movement is imperceptible, the platter can hum very loudly and fill the room with the sound of a whale's mating call. The silicon rubber material under the riser blocks is not enough to dampen the vibration when placed on both sides of the risers, and the vibration can be tuned with different layers of rubber, and bolt tension, the green sticky tape has excellent properties for simply solving the problem immediately.
|
 |